
Click to see a video
To edit pipes is often the most time consuming job in a project. You are recommended to delete pipes and draw new ones instead of editing. A pipe section can either be completely deleted, or parts may be removed.
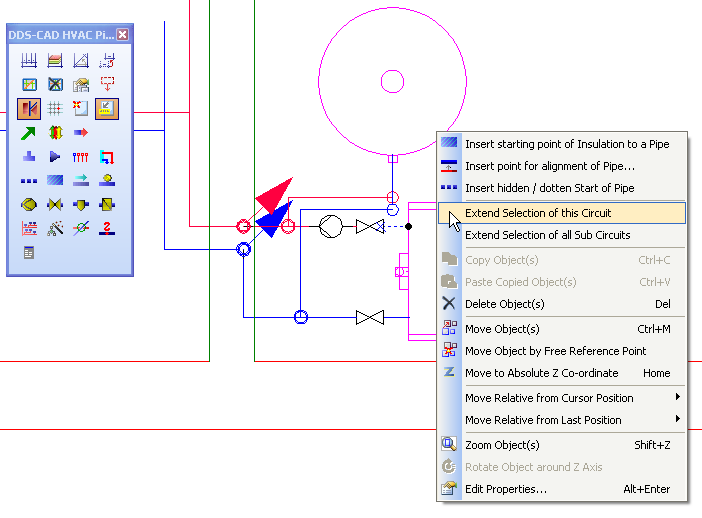
You can either delete a complete pipe, or a pipe section. If you select a section and press Delete, the rest of the pipe will remain. After having selection a pipe section, you can click the right mouse button to extend the selection to the entire pipeline. You will then be able to delete the complete pipe.. See video how to delete a complete pipe (from PipeStart to PipeEnd)
Select the entire pipe section to be deleted.
Sections of a pipe can be deleted. Select the pipe section, and press delete.
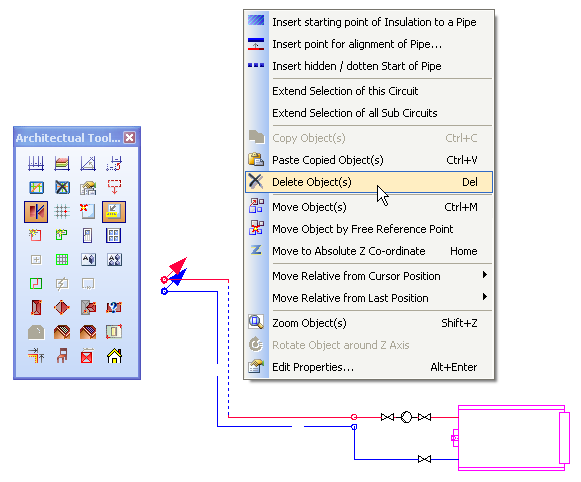
Select a pipe section, and press delete, or use the context menu.
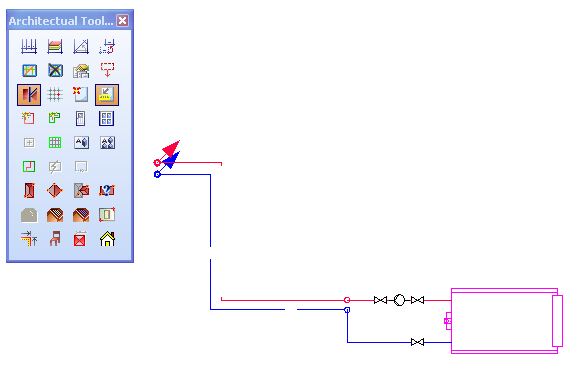
The pipe section disappears, and the ends can be reconnected as desired.
When you delete a pipe section, the continuity in the pipe network is interupted, and a new PipeStart and PipeEnd will be created in the current breakage. This only goes for deleting a pipe segment or bend. Other components (like risers, valves, tees etc. ) will keep the continuity in the pipe network when you delete them.
See video what happens when components like valves and risers are deleted.
See video what happens when you delete a pipe segment and/or a bend.
If there are several pipe sections connected with a tee, you will be able to delete all this with the option ”Extend selection to pipe end” from the pop-up menu.
Execute first ”Extend selection to entire pipe section” and then ”Extend selection to pipe end”
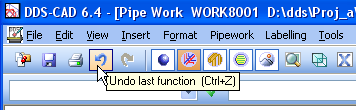
Remember: If you have deleted too much, use the ”Undo” button in the menu.
Components that have been entered into a pipe section can be moved. This means components like bend, tees, reducers, valves, pumps etc....
A component can be moved only along the pipe section, not outside, or past another component. If a bend is moved, the appurtenant pipe section after the bend in the drawing direction move along with it.
A valve can be moved along the pipe section both with and against the drawing direction.
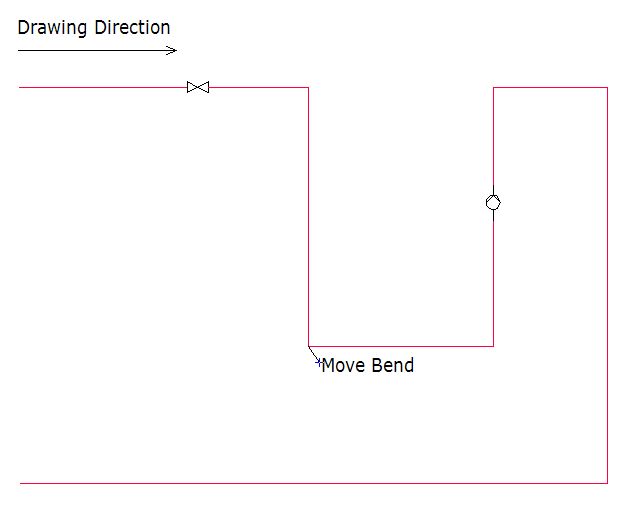
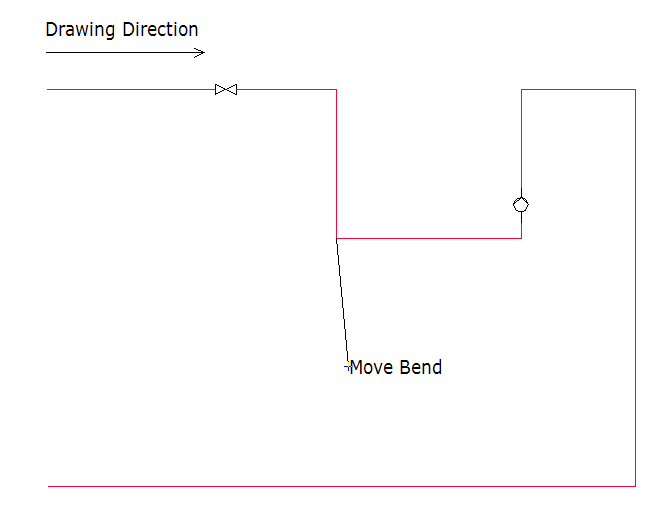
On the two images above you will see that a bend can be moved, and then the pipe defined after the bend in the drawing direction will be moved along with it.
In addition to dynamic movement of components, the position will always be available in the component properties. You get properties by double-clicking on the component.
For instance, if you want to raise the height of a pipeline, you can double-click on the bend deciding the height, and then edit.
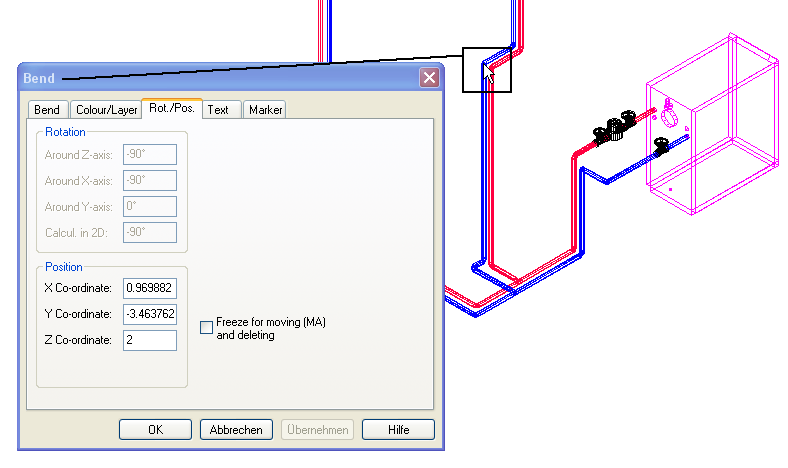
The tab ”Position” displays the position of a bend. By changing the Z value (height), the rest of the pipe section will follow.
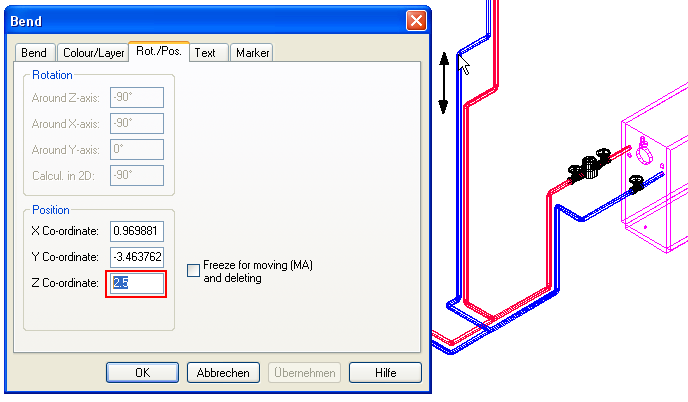
The Z value of the bend has increased from 2.0 to 2.5 meter.
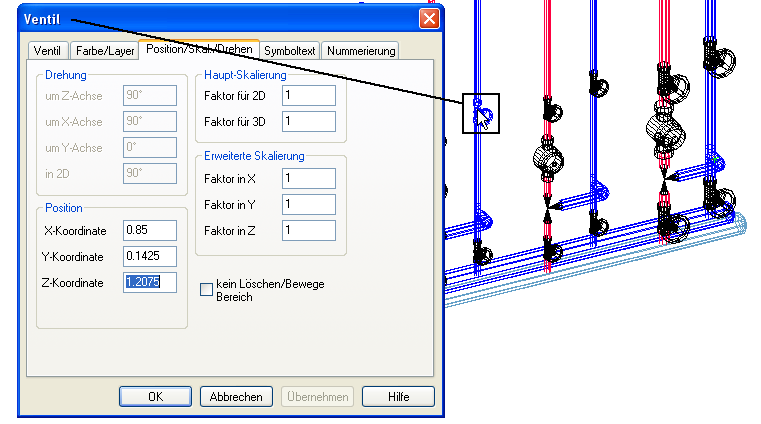
Components like gauges, valve etc. can be moved in the same manner as a bend. Here is a gauge in a heat distributor of 1.8 meter above floor.
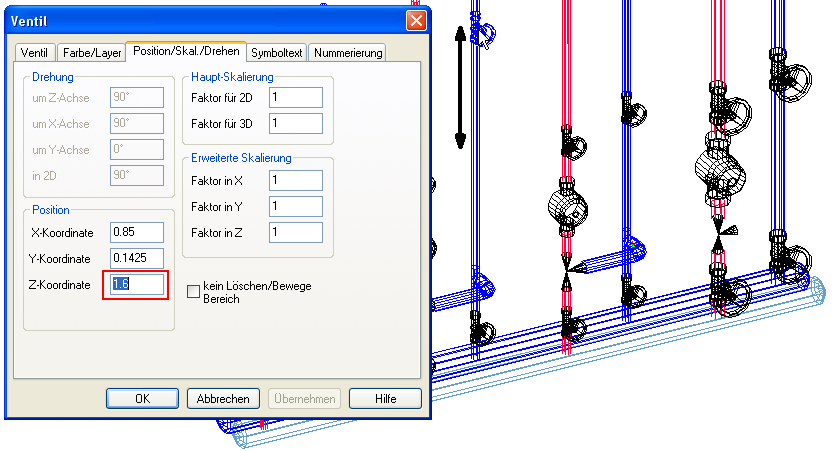
By changing the height to 1.6 meter it will look like this.
See video how to edit assembly height for a bend, and how to update the connections afterwards.
Click to see a video
If you want to move many objects in your DDS-CAD model, use the function ”Move area”. Make sure to indicate all objects to be included in the movement
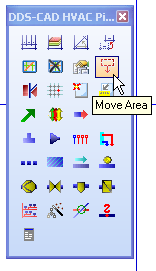
Move area.
See video of Move area
If you have made changes after having drawn the pipes, for instance moved a pipe section, or changed storey height, you may have to update the pipe modelbefore changes become operative.
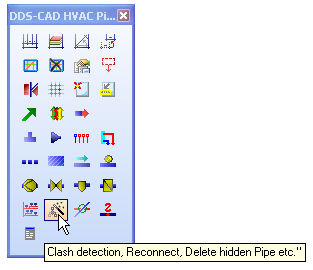
Update Pipe Model is found in the toolbox and in the Edit menu.
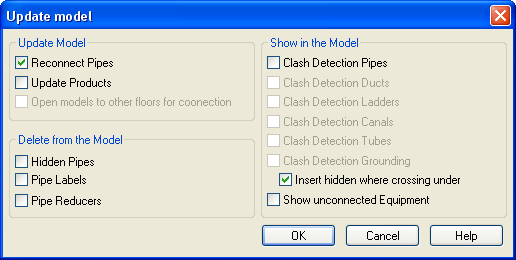
There are several checkboxes on update model. Press the Help button for more information.
< Previous Section - Next Section >